Hi there, beautiful community, hope everyone’s having an exquisite summer! ![]()
I am returning after a while with another Typeform - Integromat Automation Special. As some of you may remember, last month we were talking about automating the invoice generation process. Today, I’d like to share with you some tips on using Integromat to connect your Typeform to electronic signature services.
Why Electronic Signatures Matter
With the rise of remote work and home officing, digital communication is more important than ever. And - as we know - Typeform is all about making communication easier and more accessible. Thanks to the conversational nature of the forms, you can engage your respondents in a truly personal way.
On occasions, your forms can contain something super important or highly confidential. As a result, you might find yourself needing not only to collect the respondents’ answers but also their signature to ‘seal the deal’.
‘This could never happen to me,’ I can hear the skeptics muttering. Well, let me give you a few examples of when you may want to consider adding an electronic signature to your forms:
- affidavits
- application and registration forms
- consent forms
- contracts
- incident reports
- NDAs
- online petitions
And the list goes on.
So, it’s official - integrating online forms and eSignatures is a thing. But how to do it? I’m sure you’re aware that Typeform offers a wide plethora of great native integrations. There is yet no native solution when it comes to electronic signatures, though, and that’s where Integromat steps in. It lets you connect your Typeform account to 850+ pre-built apps so it comes as no surprise that there are a bunch of eSignature services included:

Connecting Typeform to PandaDoc with Integromat
We’re all busy people here so let’s jump right in and see how to compile the data you collect with your typeform into documents and send them off to be signed. For our tutorial, we are choosing to work with PandaDoc but feel free to experiment with any other esignature app available on Integromat.
Stage 1: Typeform Prep
In Typeform, create a form with fields for all the information you need to collect. Let’s say we want to merge the data into a contract. The fields could then be something along the lines of:
- company name
- client name
- address line
- ZIP code
- city
- state/region
- country
- and any custom fields specific to your business
Stage 2: PandaDoc Template Prep
In PandaDoc, create a template of the document you want to be signed.
There are just a few things to be mindful of:
- You’re going to need to insert variables that will be passed on from your Typeform. You can find available variables under ‘tokens’ in PandaDoc and you can also make your own custom tokens.
- Make sure the ‘Signature’ field is assigned to a role, typically to a ‘Client’.
- You will probably want to use a static image of your signature baked into the template.
Stage 3: Integromat Mashup
Now that we have all the Lego pieces, it’s time to head over to Integromat and assemble them. This time, we’ll only be needing two modules to make the magic happen.
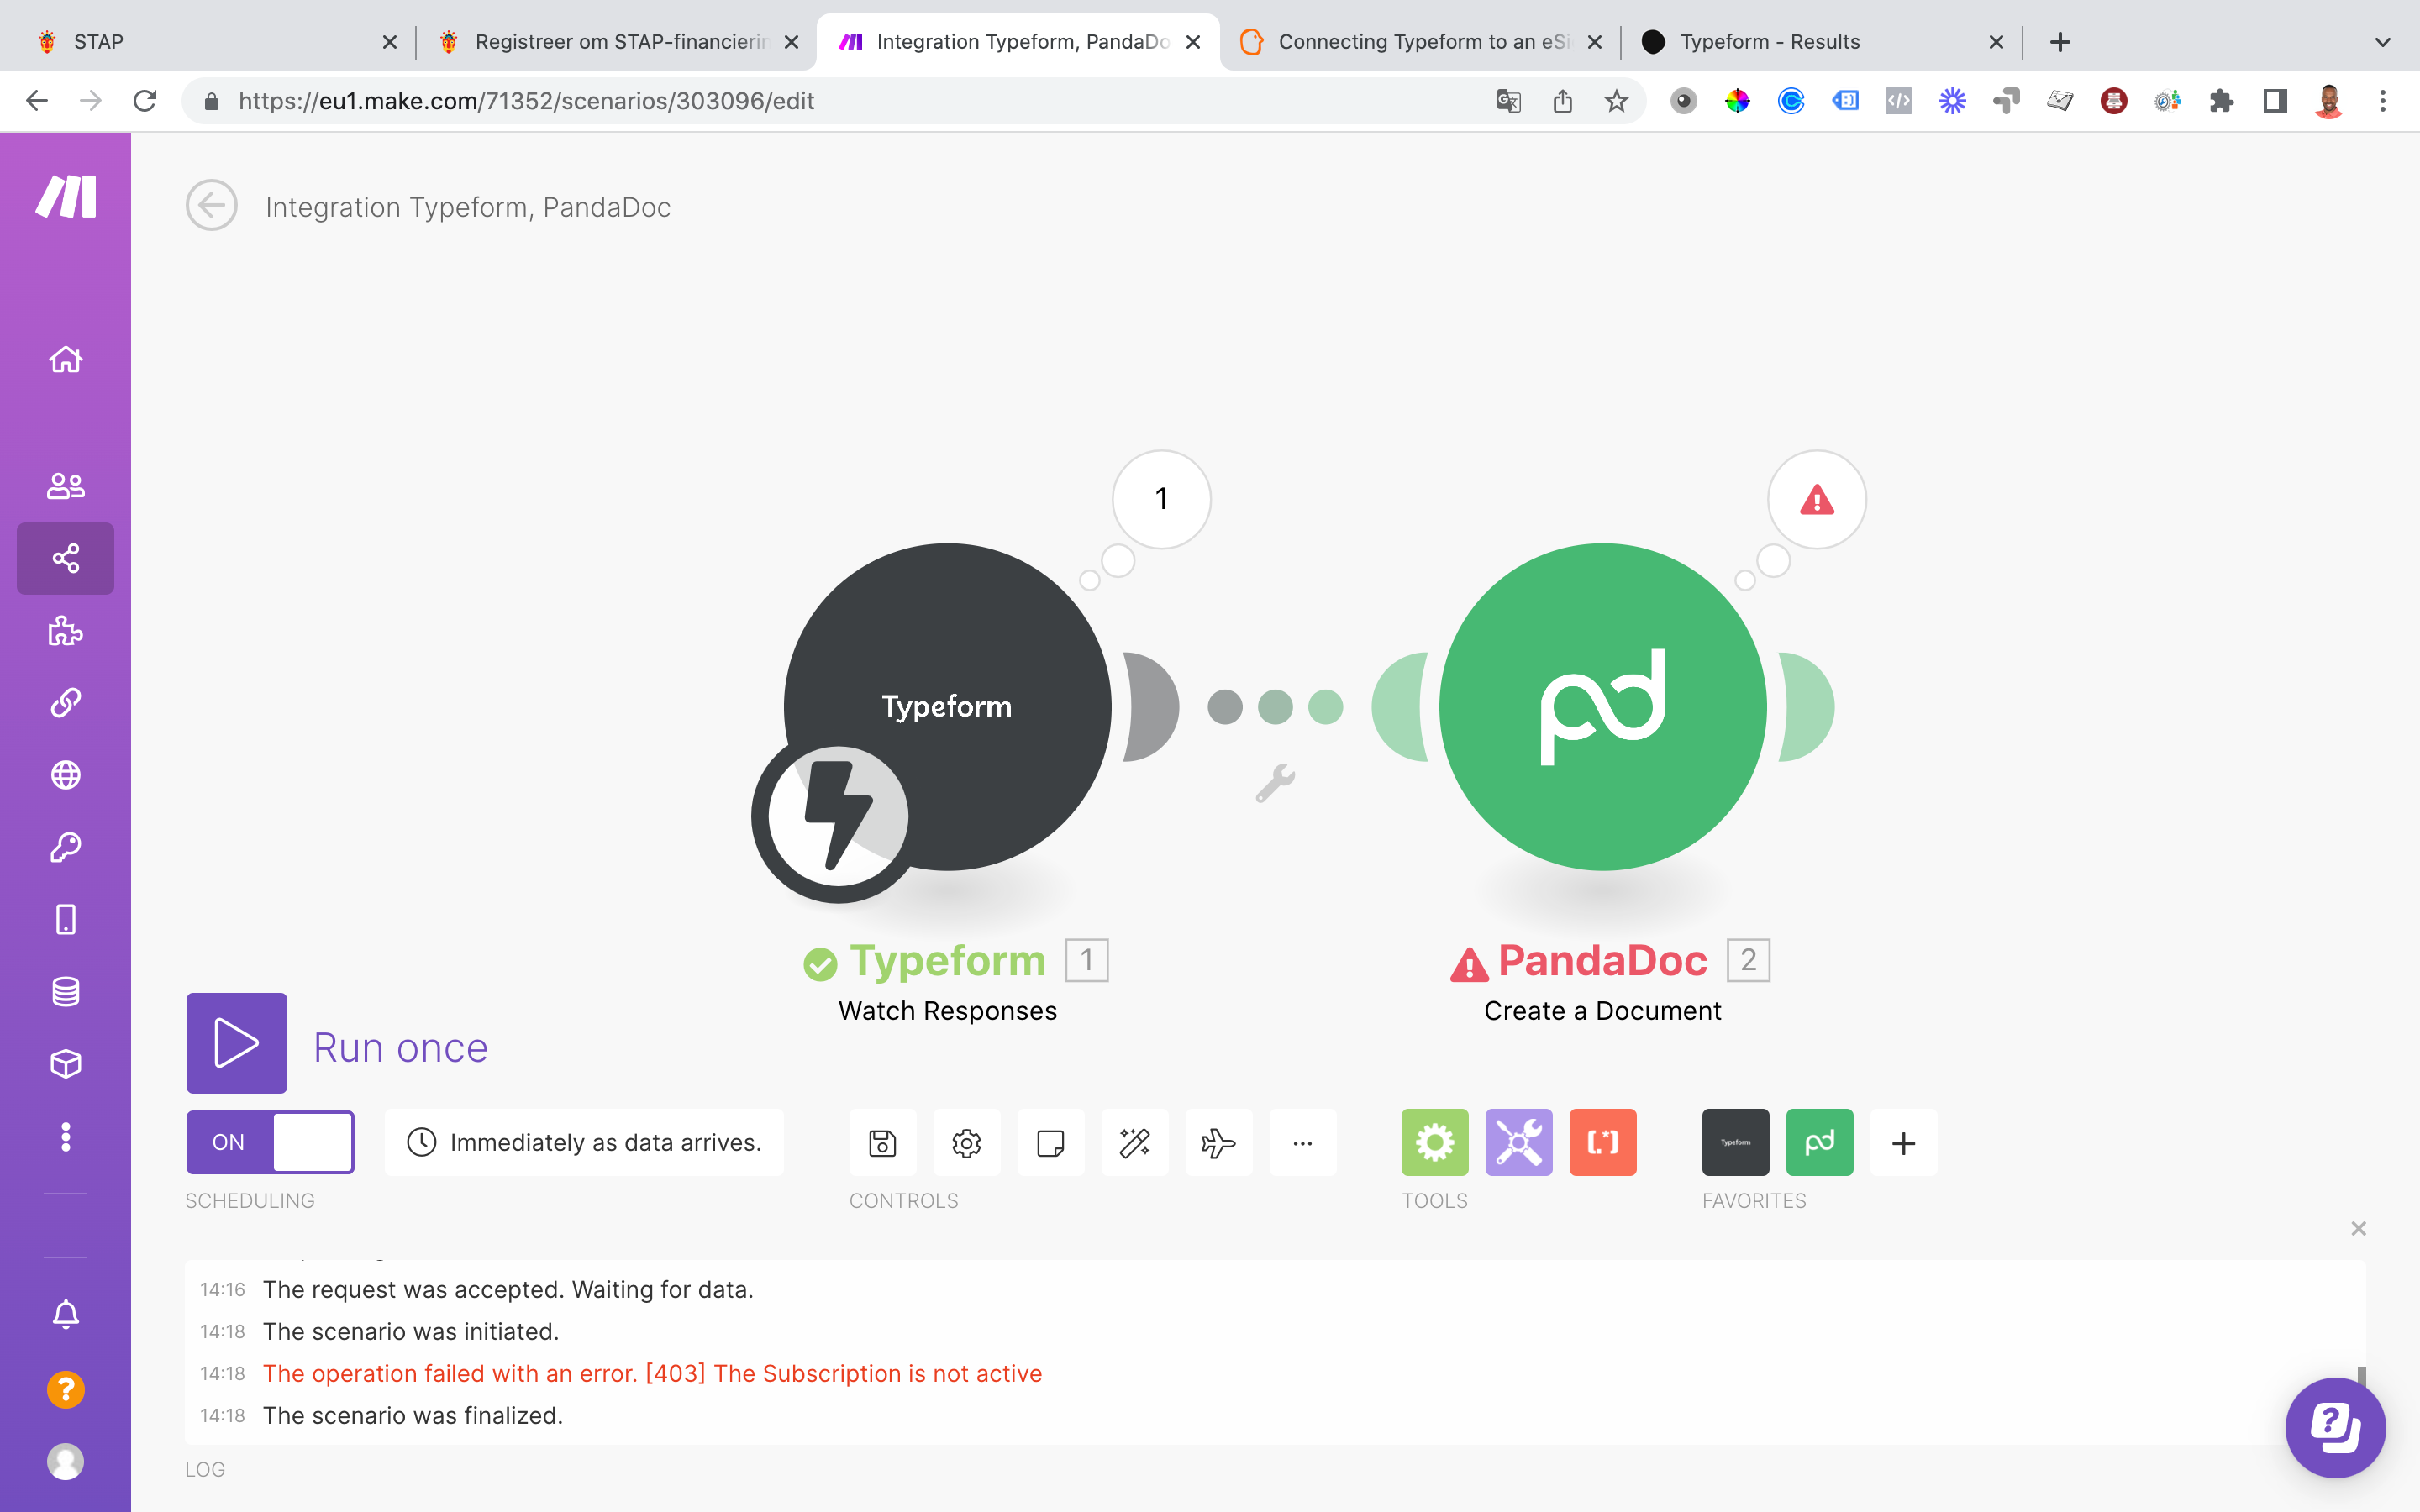
The final scenario will look like this:

- Select the Typeform ‘Watch Responses’ module. To monitor the submissions in real time, you need to choose the Instant + Acid module (the one with the lil’ lightning on it).
-
In the Typeform module, create a connection with Integromat and select the form you want to monitor. It’s a good idea to press “Run once” so that Integromat can recognize the fields coming from the form.

-
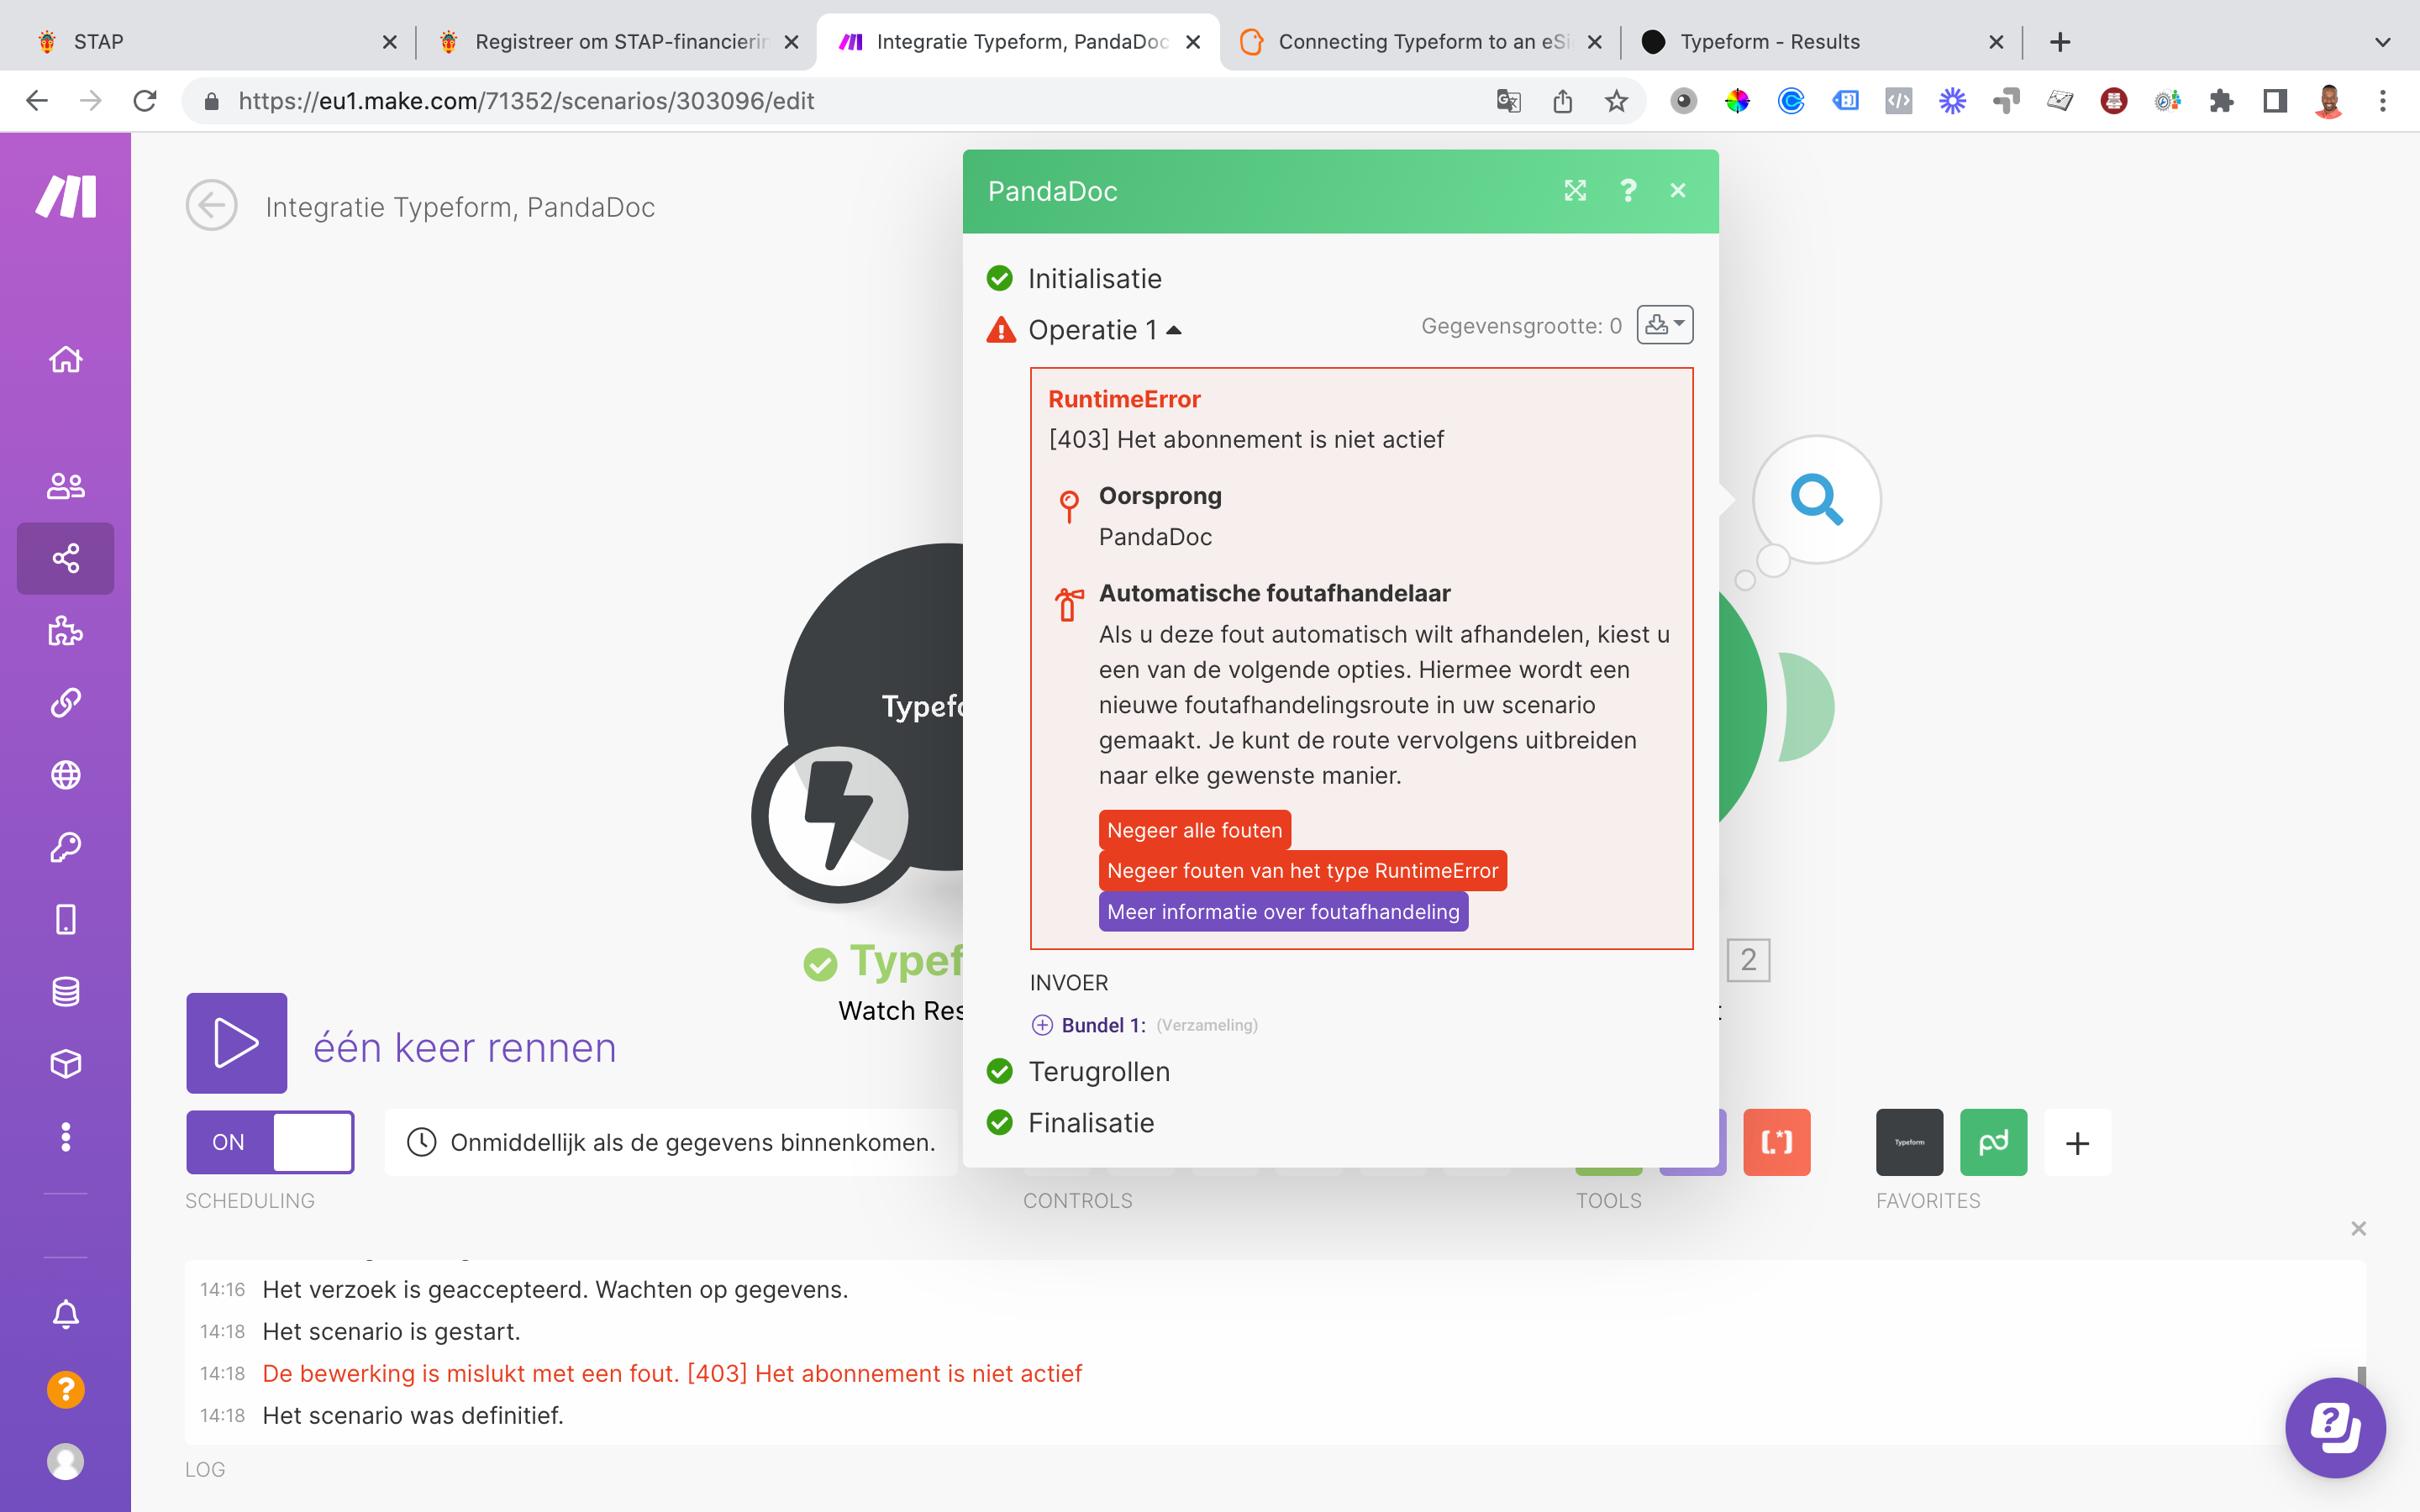
Add the PandaDoc ‘Create a Document’ module and establish a connection between your PandaDoc account and Integromat.
-
In the module, you’ll then map all the variables you want to grab from Typeform and send to your PandaDoc template. It can look like this for instance:
Fun fact: The get(split(...)....) function in the Message field will return the first word from the “Company represented by” field in Typeform. In other words, it will use the first name of the client. This is an option, though, not something you need to do ![]()
- In the PandaDoc module, you can choose the ‘Send a document’ option so that the compiled doc is automatically forwarded to the signee.
- When you’re done setting up the modules, don’t forget to turn the scenario on.
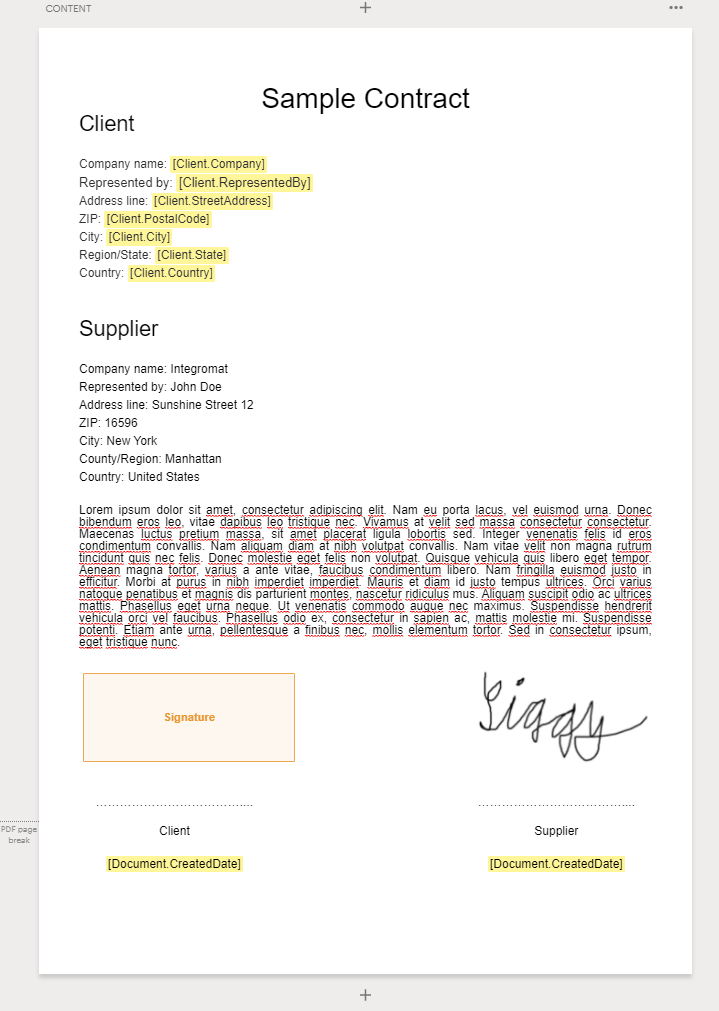
- To make sure everything works, you can make a test submission using your email address. Once the compiled contract lands in your inbox, it may look like this, all eager to be signed.

And that’s the whole kit ‘n caboodle right here for you. If you like what you see, you can grab the pre-made template and automate the process right away.
Keep in mind that you can always customize the scenario and extend it with as many steps as you need. You could, for example, get a Slack notification when a new form submission comes in and/or store the names of the respondents in a spreadsheet.
Have you ever needed to connect your forms with electronic signatures? What did you need it for? And did you manage to automate the process?
Let me know in the comments, I’m all ears.