

Twas the week before Christmas and all through the house, was the smell of fresh gingerbread - we’re making a house.
And so, as the preparations for the holiday season are well underway, I thought I would revert back to one simple ‘trick’ I have used many times. Creating personalized reports from the responses to a typeform.
I’ve done a bunch of Community posts on the elements of this. I even hosted a Community Workshop on how to do this - the link will be posted down below so that you can watch the video and get access to a bunch of supporting info.
Why?
You can only do ‘so much’ with the endings in Typeform to give folks a customized report.
So what?
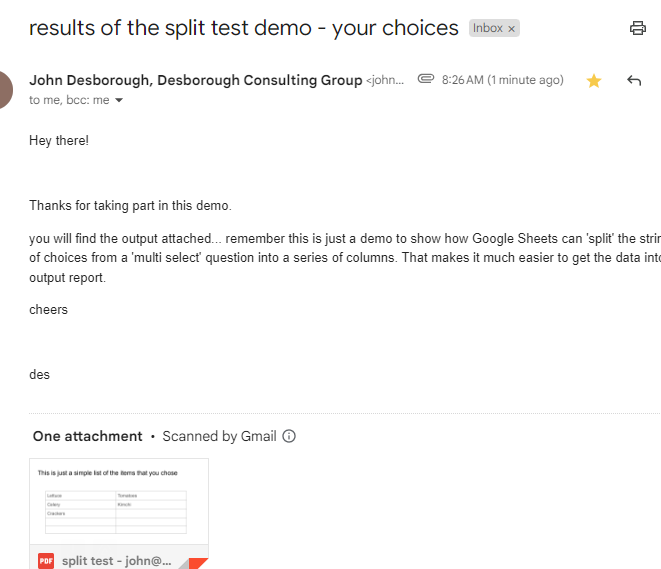
If you want to send them a PDF document that is customized based on the responses given by the user, then you have to look outside native Typeform.
Here’s the toolset:
- Typeform
- Google Sheets
- Google Docs/Slides
- Document Studio - from Digital Inspiration (spend the $100 USD to get the Enterprise version - well worth it)
Now I am making the assumption that you have Gmail for the purposes of this article but Document Studio supports a number of email platforms. I use Google Workspace for my business so Gmail it is.
I’ll give you the basics here but you can watch in more detail in the Typeform Community Workshop video.
Step 1 - create your typeform
- Make sure that the email question is required - I may sound like Captain Obvious here but you need to be able to send the output email and report to somewhere
- Connect your typeform to Google Sheets - you’ll need the data over there for this to work AND it’s a good idea to have the backup copy of your data outside of Typeform
- Publish it and create a test record with your email (or a test account email that you use)
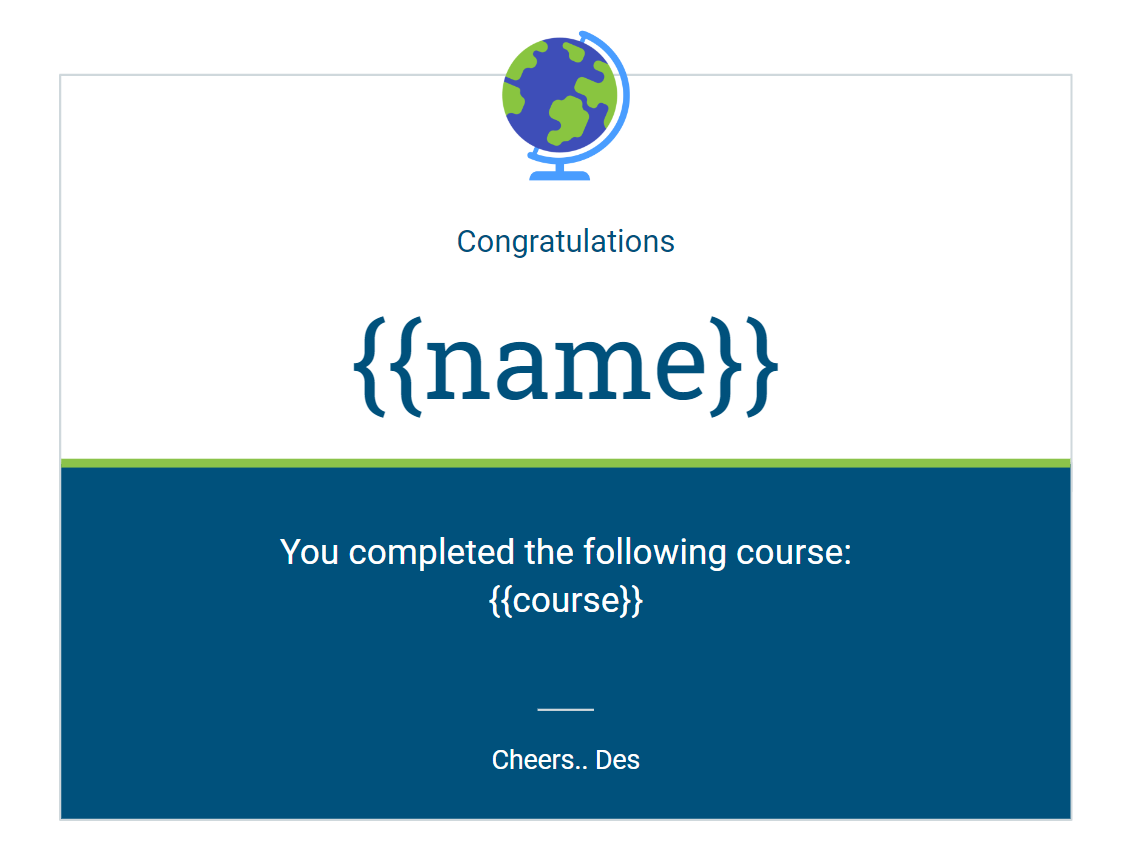
Step 2 - create a Google Doc or Slide template
- this will contain both the static text and the ‘markers’ (what Document Studio calls them) or placeholders for the dynamic/customized text from the typeform that you are going to show on the slides.
- Here’s an image of a simple one that was used in the workshop - note the that are around the Google Sheet field names. That’s how Document Studio needs the ‘markers’ to be defined.
| |
Step 3 - create an extra tab in your Google Sheet for reporting purposes
- When you Connect your typeform to Google Sheets, the column headers in the main Sheet tab are the text of the questions - they can be exceedingly long
- Create a tab called Report - or something similar - and then create some simple column headers for each question: like ‘name’ and ‘course’ from the image above
- Name is much easier than the question text in typeform - “Please enter your first name so that I don’t have to call you ‘Hey You’”
- Use the arrayformula() function in Google Sheets to pull the data from the main response tab into the appropriate columns
- Using this function will automatically pull each new typeform submission from the first tab to this reporting tab and have the data ready for use in the PDF file creation and send process
- More details in the workshop video and the post in the Community has a link to the sample arrayformula’s that I used - you can check those out
Step 4 - create your Document Studio workflow
- This is where we use Document Studio to create a workflow with two (2) tasks - create the PDF file and send the email with the file attached. All the steps are shown in detail in the workshop video - I’ll give you the highlights below
- Assuming that you have acquired and installed the software (it’s really simple to do) then the following steps will get to the end goal:
- Create a new workflow and give it a name
- Select the Action to create a PDF file
- Identify the merge template (your Google Slide/Doc), the folder in which the output files should be stored, the name of the output file and the type ie PDF.
- You can test this action in the workflow now - to see that the correct fields of data are shown in the markers in your output template - or wait and test both steps in a few minutes.
- Once you save this first action, choose to Send Email and follow the steps to identify the email provider, create the content of the email and to ensure the PDF file is attached.
- Save the action
- Now you can test both - choose Save and Run the workflow. This will allow you to generate the PDF and have the email sent to your account/test email account.
- Once you have validated that the email displays your content correctly and has the PDF file attached, you can set the ‘when to run’ options for the workflow and save the entire thing.
- I recommend that you set it to the “every hour” option - the workflow will run in the background every hour and will catch all the entries that have been submitted since the last run
That’s the highlight reel - or maybe the Readers’ Digest - of the steps to create a customized report for your typeform respondents. You can make the template as deep and complex or extremely simple as you wish.
If you didn’t catch the workshop in the Community, you’ll see that there are three different scenarios that were covered using these tools. Hopefully you can find all the details that you need over there.
Here’s the link to the Typeform Community post with the video and all the resources/links you might need to get going on this!
As always, if you have any questions, feedback or small unmarked bills you want to throw my way, please hit reply and tell me what you think.
Cheers
des