Keep up to date with the latest Typeform developments
Recently active
Our product team heard your feedback on logic jumps and have released a small but mighty update. If you have a logic jump set up on a question, but there is no default jump (aka, “in all other cases” rule), the question will automatically be set to required. If you would like to remove the requirement, you just need to add an option for all other cases. This update stops the previous issue in which the submit button would show earlier than expected. Take a peek at how the newly updated feature works below by our very own @Yuri from the Typeform Product Team. As always, let us know your thoughts on this feature and any feedback you have!
It’s a great day, Typeform Community, because a feature that many of you have requested is here: the ability to remove letters on answer options! On questions such as Multiple Choice, Legal, Yes/No or Picture Choice, those pesky letters marked every single one of your answer options. Now, you can remove those with the switch of a toggle. Watch the video below to see how, or follow the steps underneath. Our help center article here is also a great reference. First, go to your form settings. Next, toggle the button for “Letters on Answers” either on or off, depending on your preference. And voila! That’s it. That’s all there is to it. As always, let us know what you think of this feature and share any feedback in the comments below.
Kicking off the start of the year with some brand new (and much awaited!) features to our Share page. Our product team gathered all your feedback and redesigned the Share page to help you share your forms more easily on your website and emails. A few highlights of the new Share Panel features are: Easier navigation. Choose your embed on the left and view the design options on the right. Quickly navigate all the web page embed options with the code automatically updated. No more editing the code yourself. We’ll do it for you! Hidden fields are now automatically passed through to your embed so you don’t need to dig through the embed code. If you’re using the Hubspot integration or Google Analytics integration, we’ll also automatically add these options to any embed codes you generate so tracking will be a cinch. Just make sure to add the integration before configuring your embed! We’ve also added some new features and adjustments to designing inline embeds: Set th
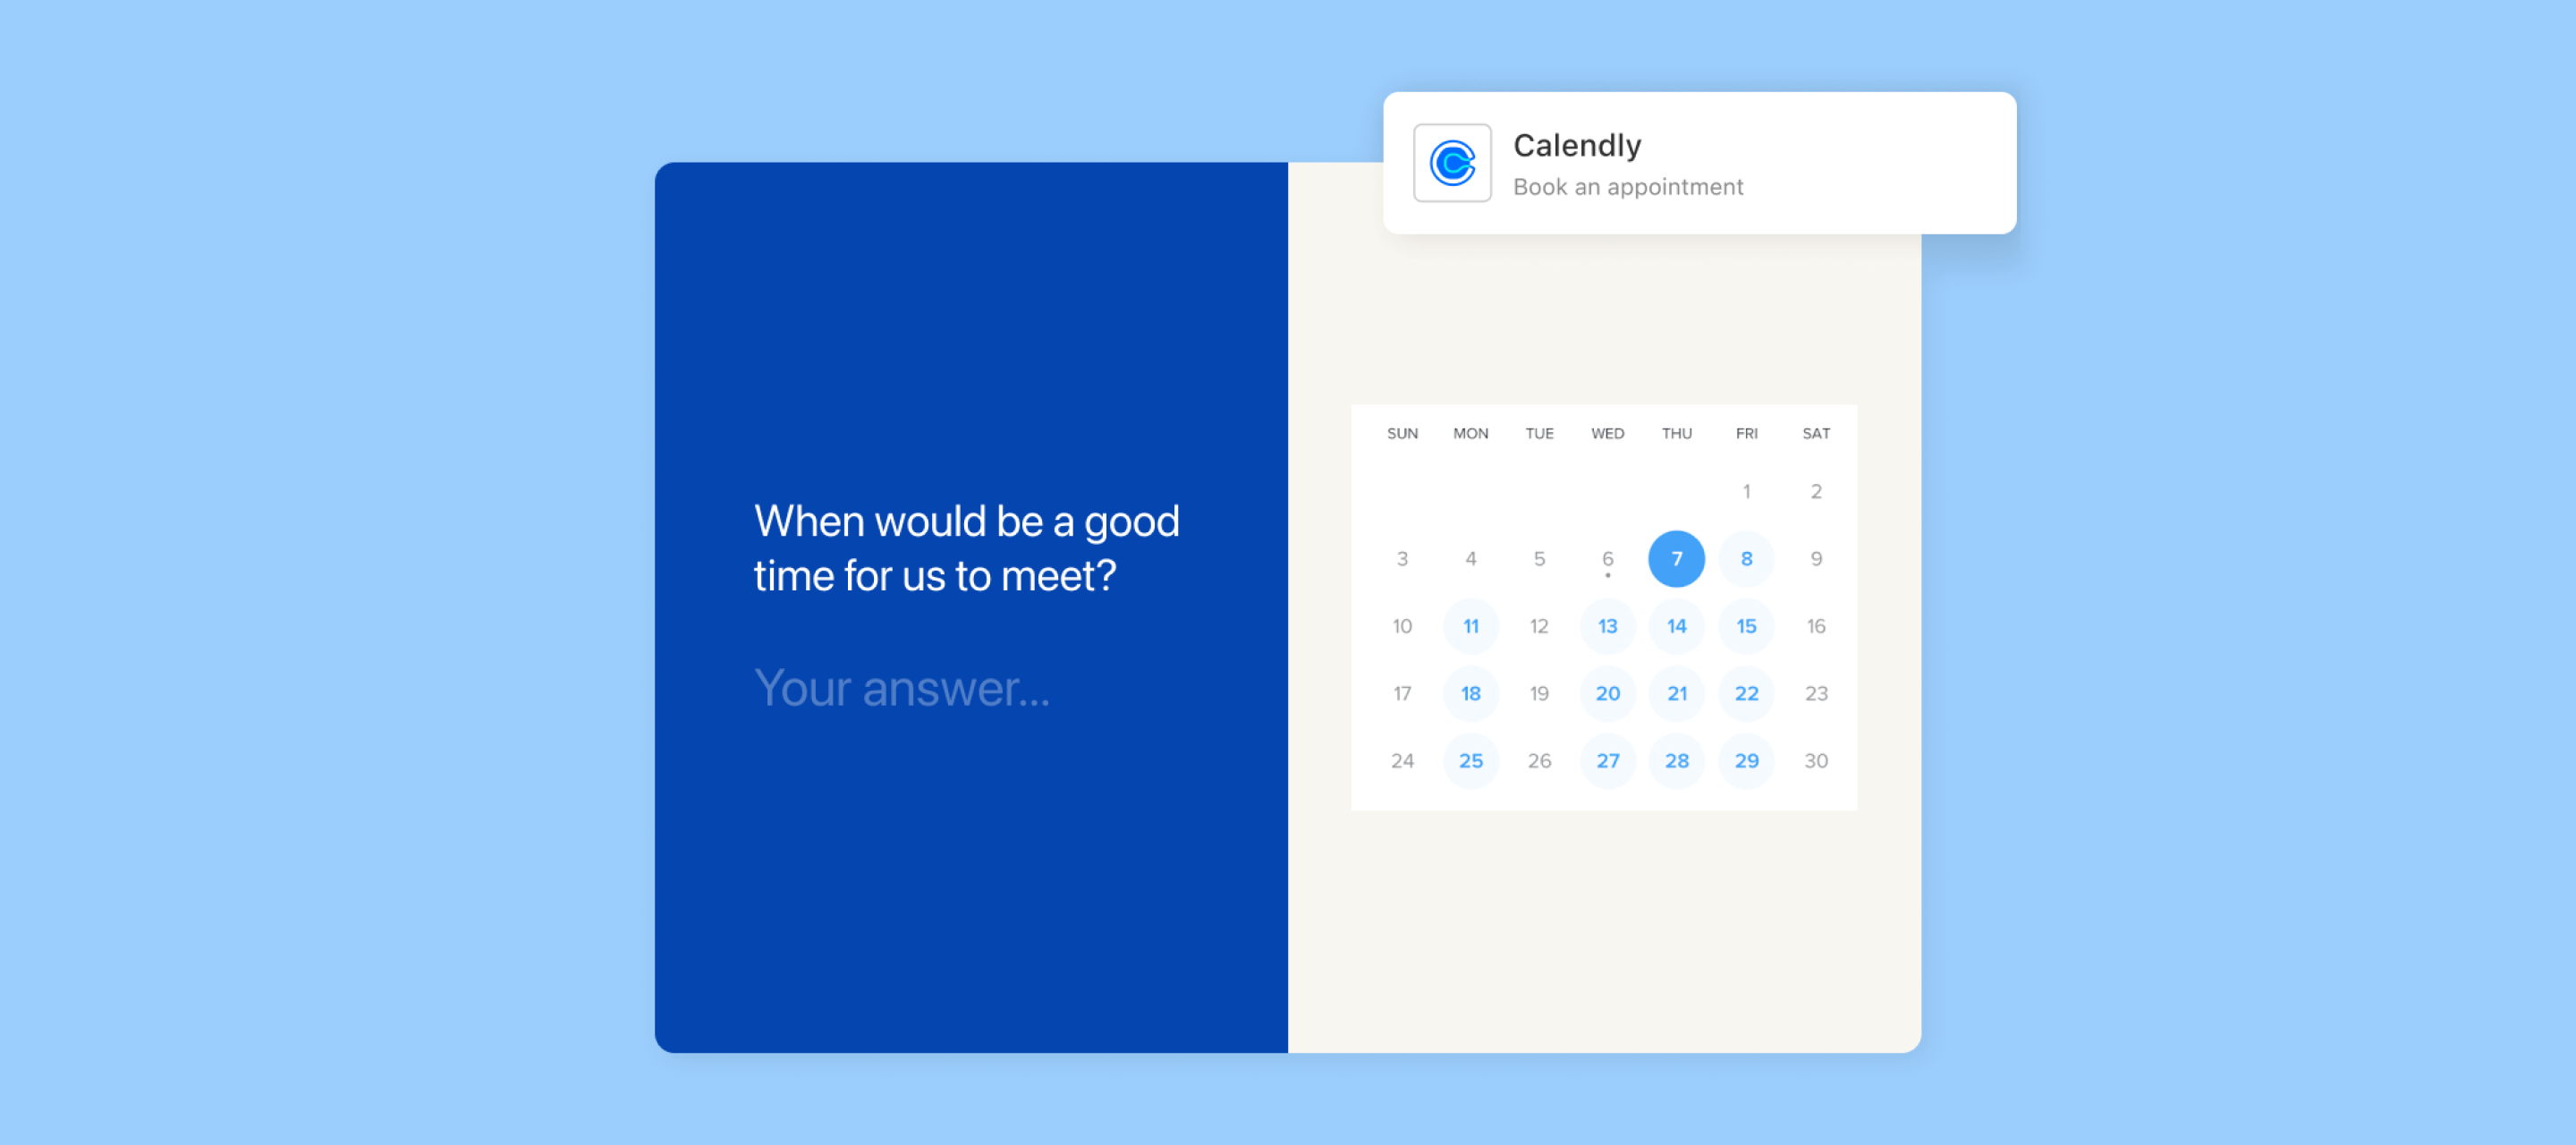
Hi, it’s Liz and we’re excited to introduce…. Drumroll please…. Our new Calendly app! You’ve all been asking, and it’s finally here! Calendly is our first in-app integration, which you can add directly into your form as you build it. Now you can ask all the questions you like and have your respondents set up an appointment with you directly within your Typeform, via Calendly's appointment scheduling platform. So now there's no need to send people to another web page or redirect them outside of your form to schedule a call or virtual meeting! Wondering what an in-app integration is? Instead of heading to the “Connect” panel, you can add your Calendly event into the form just as you would any other question. How to add the Calendly app to a typeform To add a Calendly event to your form: Click the + button in the form builder and scroll down to “Appointments.” Next, authenticate the integration by connecting to your Calendly account. Then, select the event type you’d like to ad
Hello, wonderful Typeform community! We have a fancy new feature available for our Enterprise customers - fully custom domains! If you aren’t on our Enterprise plan, you still have some options to update the subdomain of your Typeforms. Check out the video below for a quick walkthrough or read more about it here.
Wow! Was this the year for new features and integrations or what? When I compiled the list of everything released the past twelve months, I didn’t realize just how lengthy that list would be. Time flies when you’re launching new features! In case you missed it, I’ve done the deed of recapping everything you might not have seen into this handy dandy roundup for you. New Features Our product team heard your feedback and delivered on some of your most requested items this Spring and Fall. First, they did some major upgrades to the workspace experience. From adding the option to order workspaces, switch easily between different organizations, adding the new “can view” workspace role, and making it easy to discover workspaces in larger organizations, you can spend less time searching in your workspaces and more time creating forms. Next, the product team added additional features for analyzing your response data with performance trends, response filters, and response tags. As if that w
We’re officially into Fall now and the end of the year is nearly here. Where did 2022 go?! With one month left of the year, our product team hasn’t slowed down on releasing new features. Take a breeze through the newly released items below to see what the product team has been up to. Brand Kit In case you missed the memo, our Brand Kit is an easy way to organize all of your brand assets into one location so you can design your forms faster with your brand in mind. To utilize this feature, you’ll need to be on a Plus plan or higher. The Brand Kit includes a few different components such as logos, colors, media, and themes. Our Plus and Business plans allow for one Brand Kit, and if you’d like more, you’ll want to peek into our Enterprise plan. Workspace Discovery If you have multiple workspaces that your employees need to join, you’ll enjoy this new feature. Now, your organization members can search and request to join workspaces they aren’t a member of. Learn more about this handy fe
Cooler temps in the northern part of the world are officially here, and so is another product digest! October really flew by, didn’t it? The product team has dropped our newest feature this month - Brand Kit! Personally, it’s my favorite new feature this year. Let’s dive right in! Watch the video below for a full overview of the feature or browse through the different features underneath the video. Brand Kit Our Brand Kit is an easy way to organize all of your brand assets into one location so you can design your forms faster with your brand in mind. To utilize this feature, you’ll need to be on a Plus plan or higher. Our Plus and Business plans allow for one Brand Kit, and if you’d like more, you’ll want to peek into our Enterprise plan. The Brand Kit includes a few different components: Logos The coolest part of the Brand Kit feature is the ability to upload multiple logos. You may have various styles and types of logos for your brand, and now you can add them all! You can even c
Hello and happy official Fall, community members! Our product team certainly fell into a grand Fall season by releasing some epic features we’ve been waiting patiently for! If you haven’t had a chance to use them yet, give them a go because they could make your life a heck of a lot easier! Without further ado: Workspace “Can View” Role If you have someone you want to review your forms but don’t want to give edit or response download access to, this is the feature for you! When adding a member or editing an existing member to your workspace, you can now choose the option to only allow them to view the workspace and forms within that workspace. They won’t have the option to edit the form or download responses, but they will have the ability to copy and adjust the embed code (a great feature for your developer!). Learn more about this new feature here or watch the video below. If you’re curious how this compares to the other Role options, read more in our Help Center article here. Co
Friends, Romans, fellow community members! I’m Claudia from Typeform’s Education team, here to share some new content we’ve recently added to our Help Center. Nothing says “summer” like an FAQ guide to mapping your typeform questions to Salesforce fields, right? We hope that these technical tips & tricks will help you become even more of a Typeform expert. Read on to learn about some of our newest resources: Troubleshooting embedded typeformsEmbeds are a great way to meet your respondents halfway: by embedding a typeform on the pages your site visitors view most, you’ll be in the right place at the right time to get loads of responses. But if you're having embedding headaches, whether it's the start button not displaying, trying to hide the scrollbar, or the embed itself not appearing, this new Help Center article is a great resource: Salesforce setup FAQs New to Typeform’s Salesforce integration? Head over to our Salesforce FAQ page to find answers to some of the most common ques
If you’re working in an organization with a lot of workspaces or you’re the one managing those workspaces, you know it can be tedious to manually send workspace invites to your team members. We’ve made life a little easier for you with our new feature allowing your organization members to find workspaces and request access to them on their own! Take a look at the video below for more information on this feature: STEPS Click in the search bar on the upper left-hand corner. Next, type in the name of the workspace you’re looking for. Typing in the partial name should bring up a list of workspaces with the corresponding text or browse available workspaces in your organization. Then, click the option to join the workspace and wait for the workspace owner to grant your request. Once you’ve been accepted, you’ll receive an email like this: If you’re the one approving the invite, the invitee will automatically be added to the lowest permission, “can view,” which you can modify if you’
Hello, hello, community members! Occasionally, you may want to share your forms with another person to review or give feedback without allowing them the ability to edit the form or download results. Thankfully, we have a new user role available for these situations - our workspace viewer role! Anyone with a Plus plan or higher can utilize this role. This feature is great if you have a consultant, team member, or anyone else that needs access to review the form. Those with this assigned role can view forms, results, and access the share settings, but they can’t edit the form or export the results. One thing to note about this feature - this role does count towards your user count. Check out the video below to learn how to assign this role and how typeforms are shown to the assignee. To assign this role to an organization member or a new member, Click on the + button to add a new member to the workspace or to update the role of a new member. Next, choose the option, “can view”
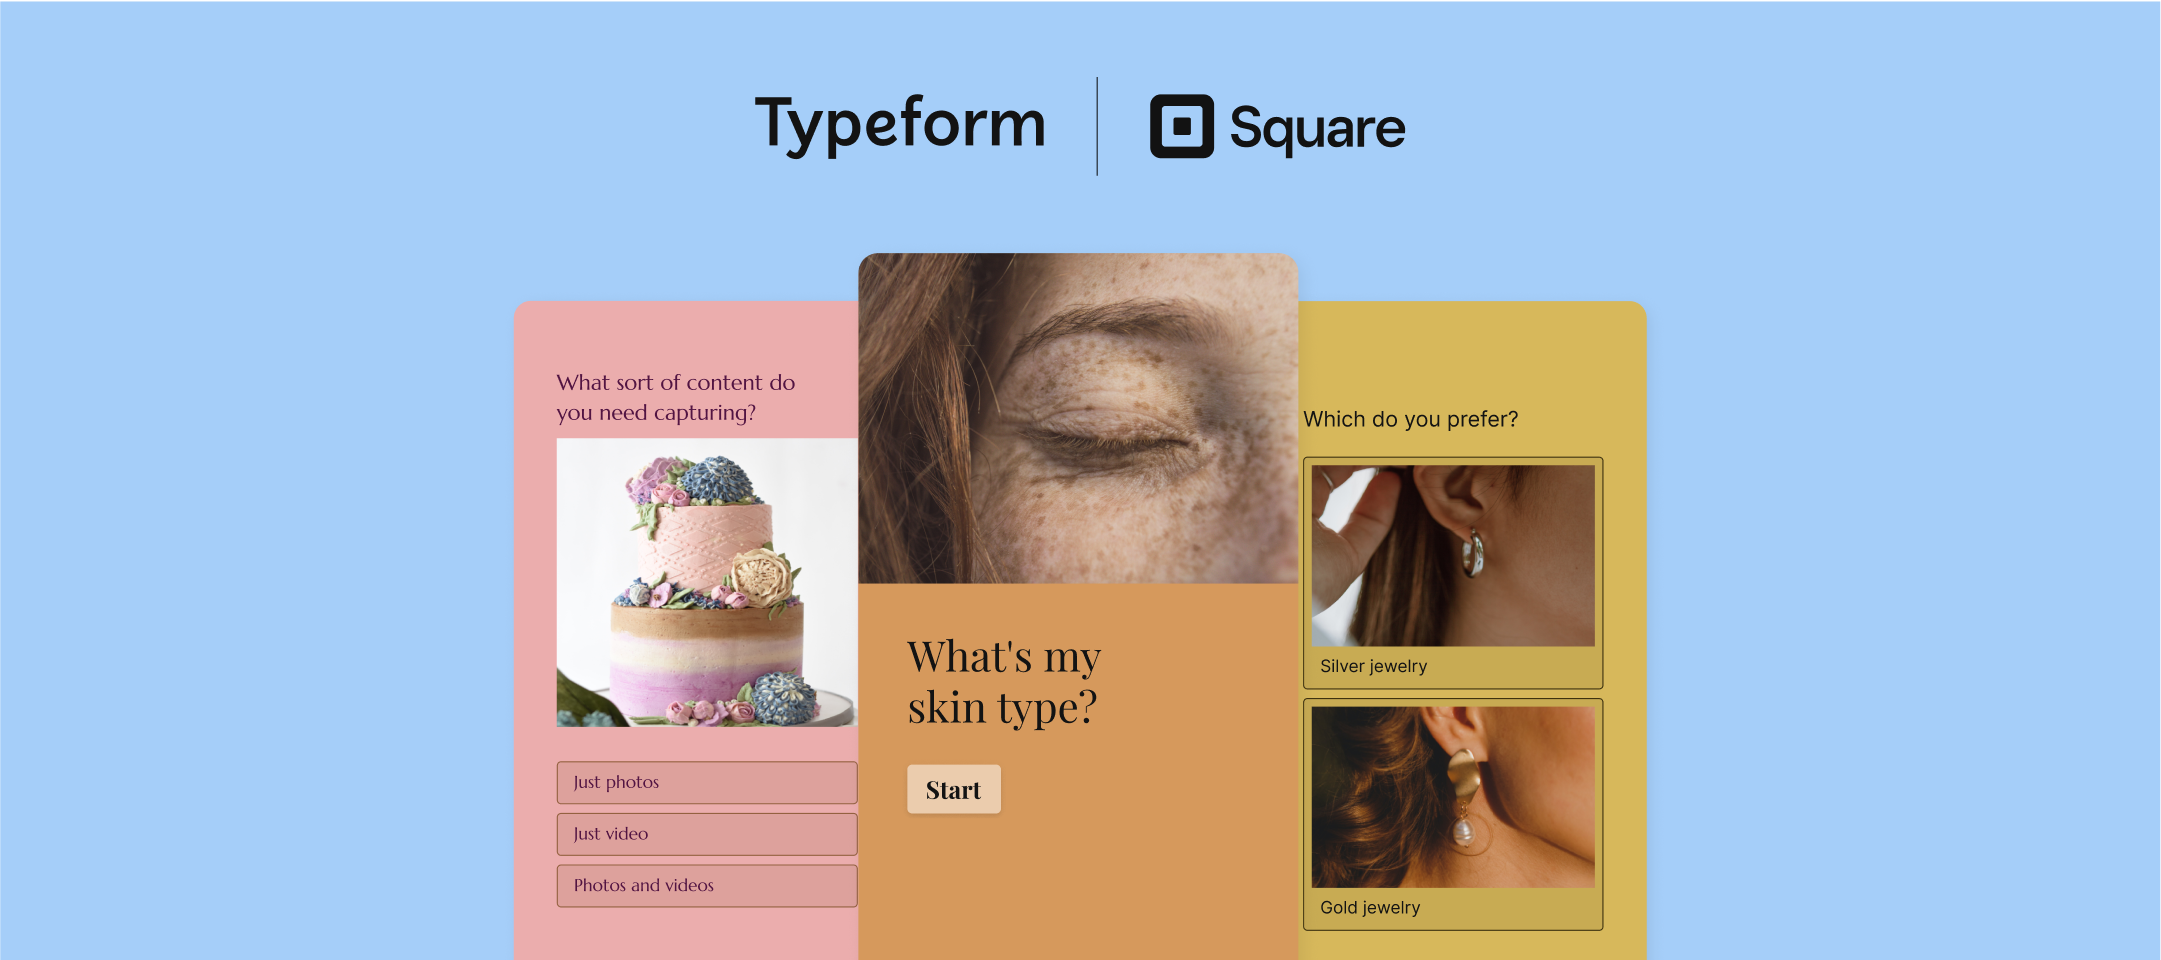
Our newest integration for lead generation and eCommerce is here - Square Online! If you’re an avid user of Square or run your shop using Square Online, you’ll love this integration for gathering new leads and suggesting products to your visitors. You’ll need two things to get started with this integration: A Free Typeform account A Free Square Online account If you’re planning to recommend products, you’ll need at least one online store with a published product. Now that you’ve got those ready, let’s dive in! Getting started Before you connect to Square, it may be helpful to narrow down what outcome you’d like your Typeform to have. Would you rather obtain new leads? Or recommend products? Based on the goal of your form, we have some handy templates for you below. Product Recommendation Quiz Template Ecommerce Lead Generation Quiz Template Customer Onboarding Form Template Services Quote Form Once you’ve narrowed down your goal and built you
This post makes it official. Summer is over. But don’t worry - feature releases from the product team aren’t! The product team has been reading through your requests and developing improvements throughout the builder to make the experience even better for you. As we begin to prepare for Fall, let’s take a peek back at all the new things this summer brought us. Response Tags If you’ve been looking for a way to organize and sort through your results, the response tags are your answer! In your Results panel within the table view, you’ll find the option to add tags to different responses and you can then use the filter option to search through your tags accordingly. Read more about this feature in our Help Center post here. Ability to Remove Question Numbers You asked, we listened! It’s now possible to remove the question numbers on your form. This can come in handy for a multitude of reasons, in particular for folks with longer forms. You don’t want to scare anyone off by those questi
Hey all! The product team is coming in hot with another new feature this bright and sunny summer day (well at least here in Chicago it is)! When adding answer options to the ranking block, you now have the option to randomize those answers. On the live version of the form, the answer options will appear in that randomized order. Take a peek at how this feature works in the video below: To read more about using our ranking block, check out our Help Center article here. Don’t forget to let us know how you use this feature and any feedback you have as well!
Comin’ in fresh from the product team is our new NPS question block! It’s easy to set up – all you have to do is add the block to your form to begin collecting feedback from your respondents. Embed an NPS question into an email There are plenty of ways to use this block within your form and out of your form, such as with our email embed. Embedding your NPS form into an email is as easy as clicking a button! (No, really, that’s all you have to do). 1. First, add the NPS block to your form. Be sure to click the publish button afterwards! 2. Next, head to the Share panel to grab the code for your email. 3. Finally, add the code in your email builder! In my video below, I’ve added this into Mailchimp, but you can connect this to any email service provider that allows HTML code. Note you can’t add this into a Gmail, Outlook, or Yahoo Mail account. Connect an NPS question to your eCommerce tool Want to take this a step further? Try adding it to your eCommerce platform, such as Shopif
The feature many of you have been requesting in the community for some time now is here - the option to remove question numbers from typeforms! There are plenty of reasons you might want to remove question numbers, such as if you have a long form and don’t want your respondents to be intimidated by the length. Or, maybe you want to remove them simply for stylistic purposes. Whatever your use case, you can now remove them with just the click of a button. Let us know how this feature works for you! We’d love to see what you do without those question numbers on the form.
Summer is in full swing over here at Typeform, and I hope you’re out there enjoy the sunshine, the thunderstorms, and all the forms you’re building! Our product team has been running some beta tests this month so they can continue to roll out new features over the year. In the meantime, there are a few features we released this month that may come in handy while building your typeforms. Let’s dive in! Encourage Submissions 🚅 The proof is in the pudding, as they say, or in this case, the proof is in the number of people who have submitted your form. Turn on our new Encourage Submissions feature to provide social proof to your forms. This feature will show how many respondents have completed your form in real time, helping to encourage others to follow suit. Read more about this in our Help Center article here. Typeform in Linktree 🌳 Earlier this year, we announced an update to our Linktree integration that embedded the forms within your link. Now the feature has been officially rol
April showers definitely brought May flowers this month because our product team rolled out five blooming releases! My favorite of them all is the conditional redirect, but you can read more about what that is a few paragraphs down. Let’s dive right in! Conditional redirect on completion ↪️ This is a BIG release this month, which I know lots of you have been asking for! Now, you can send your respondents to different URLs based on the answers they provide in your form. You can still add URLs to the ending screens, or you can redirect them automatically without needing to show them an ending screen first. One thing to note - this feature will only appear in newly created forms. Existing forms will be migrated from the original redirect feature to this one. Cookie consent banner 🍪 Meet GDPR privacy requirements by offering the option to display a cookie consent on your form. You can turn this feature on and off within your form settings as shown below.Read more about this feature in
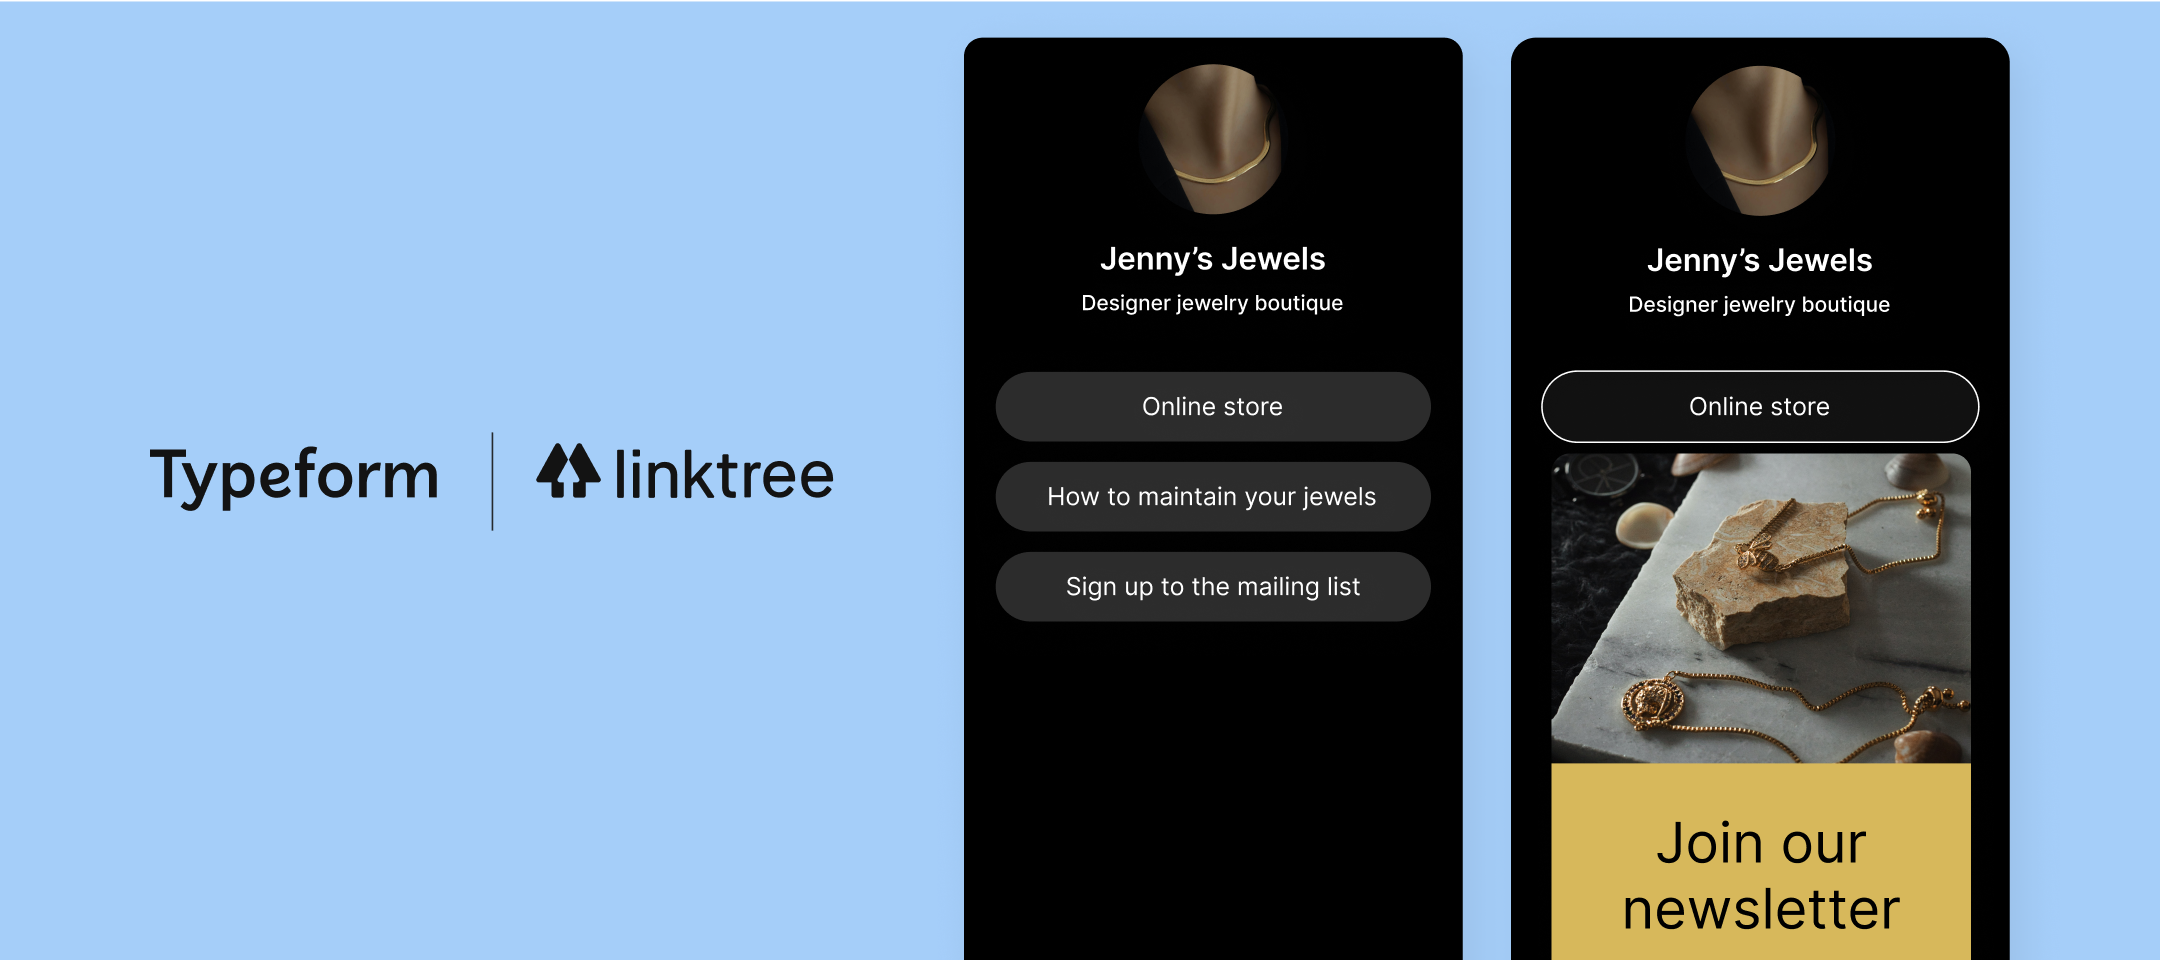
If you’ve got an online business, you may have used Linktree on your socials. If you haven’t had a chance to use their service, I highly recommend taking a peek at their site here! Linktree is an easy-to-use platform that places all of your links in one page so you can direct your customers or followers to different links on your website based on the information they’re looking for. Our Linktree integration is even easier to use now. Before, you could add the Typeform URL to your Linktree account, and once your respondents clicked the link, they’d be taken to your typeform. Our latest update reduces the number of clicks it takes for your respondents to reach your form. Once you add Typeform to your Linktree account, the respondent will only have to click on the link and the form will appear in the same page without having to be redirected to a new window. Fancy, right? Take a look at how this integration update works below. How to use the Linktree integration in your business Lead
The Typeform product team has just made it even easier to set up logic jumps in your form by introducing the new Visual Logic Map. Now, you can see a map of how logic is set throughout your form and make changes to it if you need to. While this may seem like an easy feature to code right in, it took the product team some heavy lifting to find the perfect way to blend in editing features to the map. Watch the video below to learn more about this new feature and how it was built! How to use the Visual Logic Map Thankfully, it’s super easy to access the editor while viewing your map: 1. When you’re in the logic editor, click on any of the questions you want to edit. 2. A panel will appear on the side of the builder and you can edit the logic as you see fit there. See a question that should connect to another one? You can click and drag the + button to connect two questions together. 3. Be sure to click the save button for your changes to go live! Learn more! Dive even further into
This month, our product team focused on releasing a new integration and making some massive improvements to an existing feature, the logic map! If you love using the logic map, you’ll love it even more now, thanks to its new interactive editing features. And if you’re a Square user, our new integration will help you collect even better leads.Let's dive in and find out more: Square Online Integration 🛍️ A new month means a new integration! Our sparkling Square Online integration provides the opportunity to collect new leads or give handy product recommendations to your potential customers. Check out our in-depth community guide to the Square integration here, as well as our Help Center article here. Visual Logic Map 🗺️Our logic map just keeps getting better! Instead of exiting the map to make changes to your logic, you can do so right in the logic builder. Talk about time savings!Take a peek behind the scenes of this feature with our product team through our Under the Hood post her
March was the month of releasing new features that enhanced already existing ones in Typeform. Yay for making form building even better! Let’s dive right in! 📈 Performance Trends Earlier this month, we shared an article to walk you through our newest respondent report, the Performance Trends. If you’re curious about who’s answering your form and when, this report will give you a richer insight into that data. Read more in our Help Center article here. 📝 Fix for the Calendly Submission Rate The beloved Calendly block was a welcome addition to our ever growing list of integrations. It’s even more spectacular now thanks to a fix that ensures your respondents are submitting their information correctly. Now, once your respondent books a time with you in your Calendly schedule, the form will automatically submit, too. 📅 Date Validation - Year Previously if you had the date field in your form, the respondent could answer the date block with an invalid year. For example, instead of a
If you’ve poked around the Typeform question options recently (or read my post!), you've probably seen that we introduced the ability to add your Calendly calendars to your forms. Big yay! As if that isn’t exciting enough, Calendly is the first application we’ve added to Typeform, as a question type. If you’re wondering what the difference between an application and an integration is, an application is directly in the Typeform builder. Simply connect to your Calendly account and then choose to add it as a question directly in the form! Since this is the first application of many to come, the Typeform Product team worked for months to get this ready. Lead Project Manager Raul, who led the development of the application, shared a bit in the video below about how they built this, how the product team is using the application for customer feedback, and what he really does during his workday. (Hint: it’s not leading the product team. ) To recap, here’s how you can get started using the Cal
In this month’s digest, we’re covering some powerful integrations and question blocks that will help you gather more data with less work. Nothing like time efficiency to continue the new year with a great start! Instead of chit-chatting my woes of the month, let’s get right to the new features we rolled out. ❓Recommended questions block You may know what you want to ask in your form but not a clue how to ask it. Don’t worry, we have suggestions for you! The new Recommended Questions Block will give you a nudge in the right direction when choosing how to ask your questions. 🎾 Unbounce integrationIf you’re a fan of Unbounce, you’ll love this integration! With the new Typeform App in the Unbounce Smart Builder, all you have to do is integrate the two products together and choose which Typeform to embed on your page. Easy peasy! Check out more information about the integration over in this post 📧 New email embed questionsWe’ve got even more options to start your Typeform in an email
Don't be shy and ask the community.
Already have an account? Login
Enter your E-mail address. We'll send you an e-mail with instructions to reset your password.